
When you’re ready to start accepting real payments from your customers, you’ll need to switch PayPress from Test Mode to Live Mode.
Go to PayPress → Settings and change the mode from Test to Live.
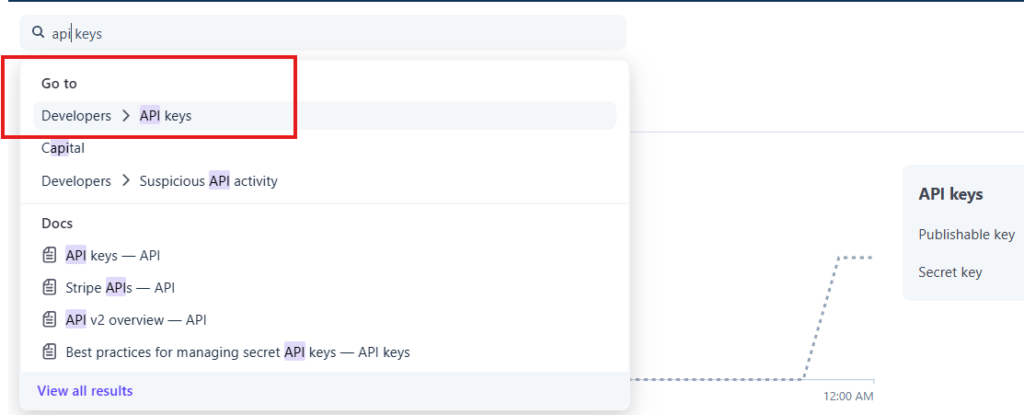
Next, you’ll need to enter your Live API keys from Stripe. Log in to your Stripe account and go to the Home page—you may see your API keys there. If you don’t, use the search box at the top of Stripe, type API, and select Developers → API Keys. Copy your Live Publishable Key and Live Secret Key, paste them into PayPress, and click Save Stripe Connection.
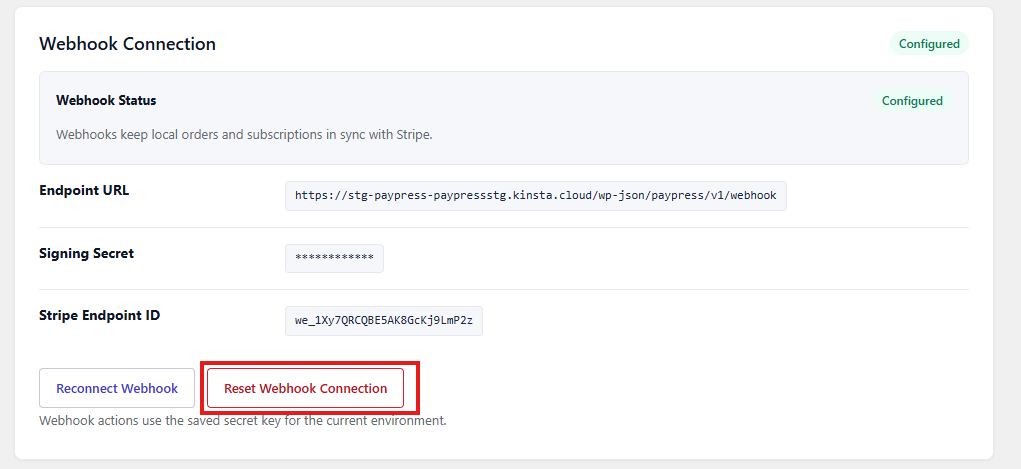
Next, scroll down to the Webhook Connection section. Click Reset Webhook Connection to remove the existing test webhook, then click Reconnect Webhook to automatically create a new webhook for your live Stripe account.
Before accepting payments from customers, we recommend processing a small live transaction (for example, $1.00) to verify that everything is working correctly in your production environment. This allows you to confirm that payments, webhooks, email notifications, and order creation are all functioning as expected before going live.
After deploying PayPress or switching Stripe Test/Live mode, purge any full-page cache (Kinsta, Cloudflare, LiteSpeed, etc.) before testing guest checkout.